
Adding illustrations to a blog post is a very effective method to make them more attractive and readable for the visitors. Human eye is more sensitive to colors and pictures. No one likes to read long plain text articles. If you spice up your posts with relevant photos, you will observe dramatic increase in your readership. Let's see how to integrate well-decorated photographs in our blog posts.

There are two methods of embedding a picture in a blog post. In first method, we embed a picture in its original form without any modification. The second method involves trimming, decorating and adding various special effects to the illustration to make it more attractive for the reader. Here are some methods to modify and enhance your pictures to make your blog posts irresistible.
Surround With Frames And Borders
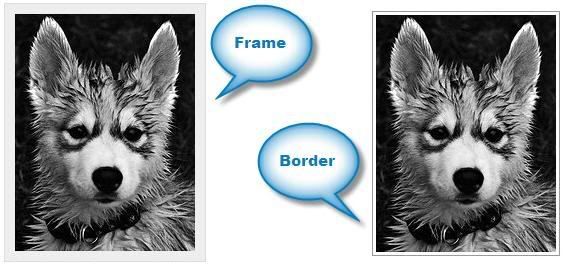
Normally, a frame or a border surrounds portraits or primary image of any blog post. You can use this option to give a unique look to all the portraits embedded in your blog posts.
Use Different Types of Edges
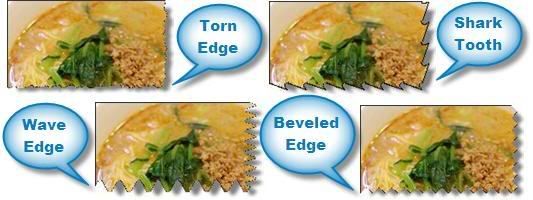
Bloggers often use different edge effects to make an illustration more attractive. I have shown some basic edge styles that I often use in my post illustrations. You can invent your own styles to spice up your pictures.
Use Speech Bubbles

Speech bubbles have the power to put life in a picture. Use them liberally wherever you find any scope of using them.
Use Arrows

Do not hesitate to use arrows in specific kind of illustrations. Normally, they are heavily used in data charts, stat sheets and similar kind of pictures.
Use Captions/Headlines
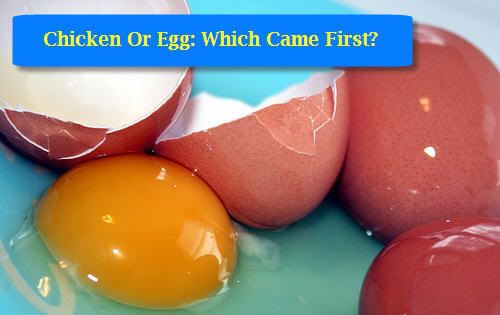
Adding captions and headlines gives a strong statement not only about the picture but also about the topic of your blog post. Normally, captions are added in the primary illustration of a blog post supported by secondary pictures, if any.
Use Miscellaneous Effects


As shown above, there are hundreds of special effects that can be added to the illustrations. Remember, the time you will devote working on your blog post illustrations will never get wasted. A blog post supported by relevant illustrations brings more traffic and more engagement from the readers.
You can use Photoshop or GIMP to add these special effects to your blog post illustrations. If you have limited photo-editing skills, you can read some good free tutorials available on Internet that will equip you with enough skills to perform these basic photo-editing tasks.
Here is an excellent Adobe Photoshop Basics tutorial by Sue Chastain. This course is divided into several modules and is completely free. I have done this course and it really helped me in refining my Photoshop skills.


 If you enjoyed this post, make sure you subscribe as an Reader!


 Hi ! I am,Dan Alan,


0 comments:
Post a Comment